Your First Dialogue
Create a dialogue with branching choices and play it in under five minutes. By the end, you will have a scene where the player walks up to an NPC, presses a key, and a conversation plays through a full UI.
1. Create a Dialogue Asset
There are two ways to create a new dialogue:
From the Project window:
Right-click in the Project panel and select Create > CraftWorks > DialogueCraft > Dialogue. This creates a DialogueAsset ScriptableObject with a default empty graph containing a single Entry node.
From the Dialogue Editor:
Open Tools > CraftWorks > DialogueCraft > Dialogue Editor. Use the browser panel on the left to create a new dialogue.
Give the asset a descriptive name, such as Greeting_Guard. The asset's dialogueId field defaults to the file name and is used internally for save data and localization keys.
2. Open the Dialogue Editor
Double-click the dialogue asset in the Project window, or open it from the Dialogue Editor's browser panel. The graph canvas appears with a green Entry node already placed.
3. Add Nodes
Build a minimal conversation: Entry leads to a text line, then a choice, then two endings.
Add a Text Node
Right-click the canvas and select Add Node > Text. A blue Text node appears. Select it and fill in the fields in the inspector:
- Character -- pick a speaker from the dropdown (or leave blank for narration).
- Dialogue Text -- the line of dialogue, for example:
"Halt! State your business, traveler."
Connect the Entry node's output port to the Text node's input port by dragging from one to the other.
Add a Choice Node
Right-click the canvas and select Add Node > Choice. A teal Choice node appears. Connect the Text node's output to the Choice node's input.
Select the Choice node and add two choices in the inspector:
| Choice | Text |
|---|---|
| 0 | "I'm here to trade." |
| 1 | "Just passing through." |
Each choice creates an output port on the node.
Add End Nodes
Right-click and add two End nodes (red). Connect each choice output to its own End node. Your graph now looks like this:
Entry --> Text --> Choice --[0]--> End
                         \--[1]--> End
Save the dialogue with Ctrl+S or let auto-save handle it.
4. Set Up the Scene
You need three things in the scene: a DialogueRunner to execute the graph, a UI to display it, and a trigger to start it.
Add a Dialogue Runner
In the Hierarchy, right-click and choose CraftWorks > DialogueCraft > Dialogue Runner. This creates a GameObject with the DialogueRunner component.
On the DialogueRunner component, configure these fields:
| Field | Value |
|---|---|
dialogue | Your dialogue asset (e.g., Greeting_Guard) |
autoStart | Leave unchecked (a trigger will start it) |
useTypewriter | Check for typewriter effect |
typingSpeed | 0.05 (seconds per character) |
If you have a CharacterDatabase, assign it to the characterDatabase field. Otherwise, the runner falls back to the project-wide database in DialogueCraftSettings.
Add the Dialogue UI
The fastest way to get a working UI is the included prefab.
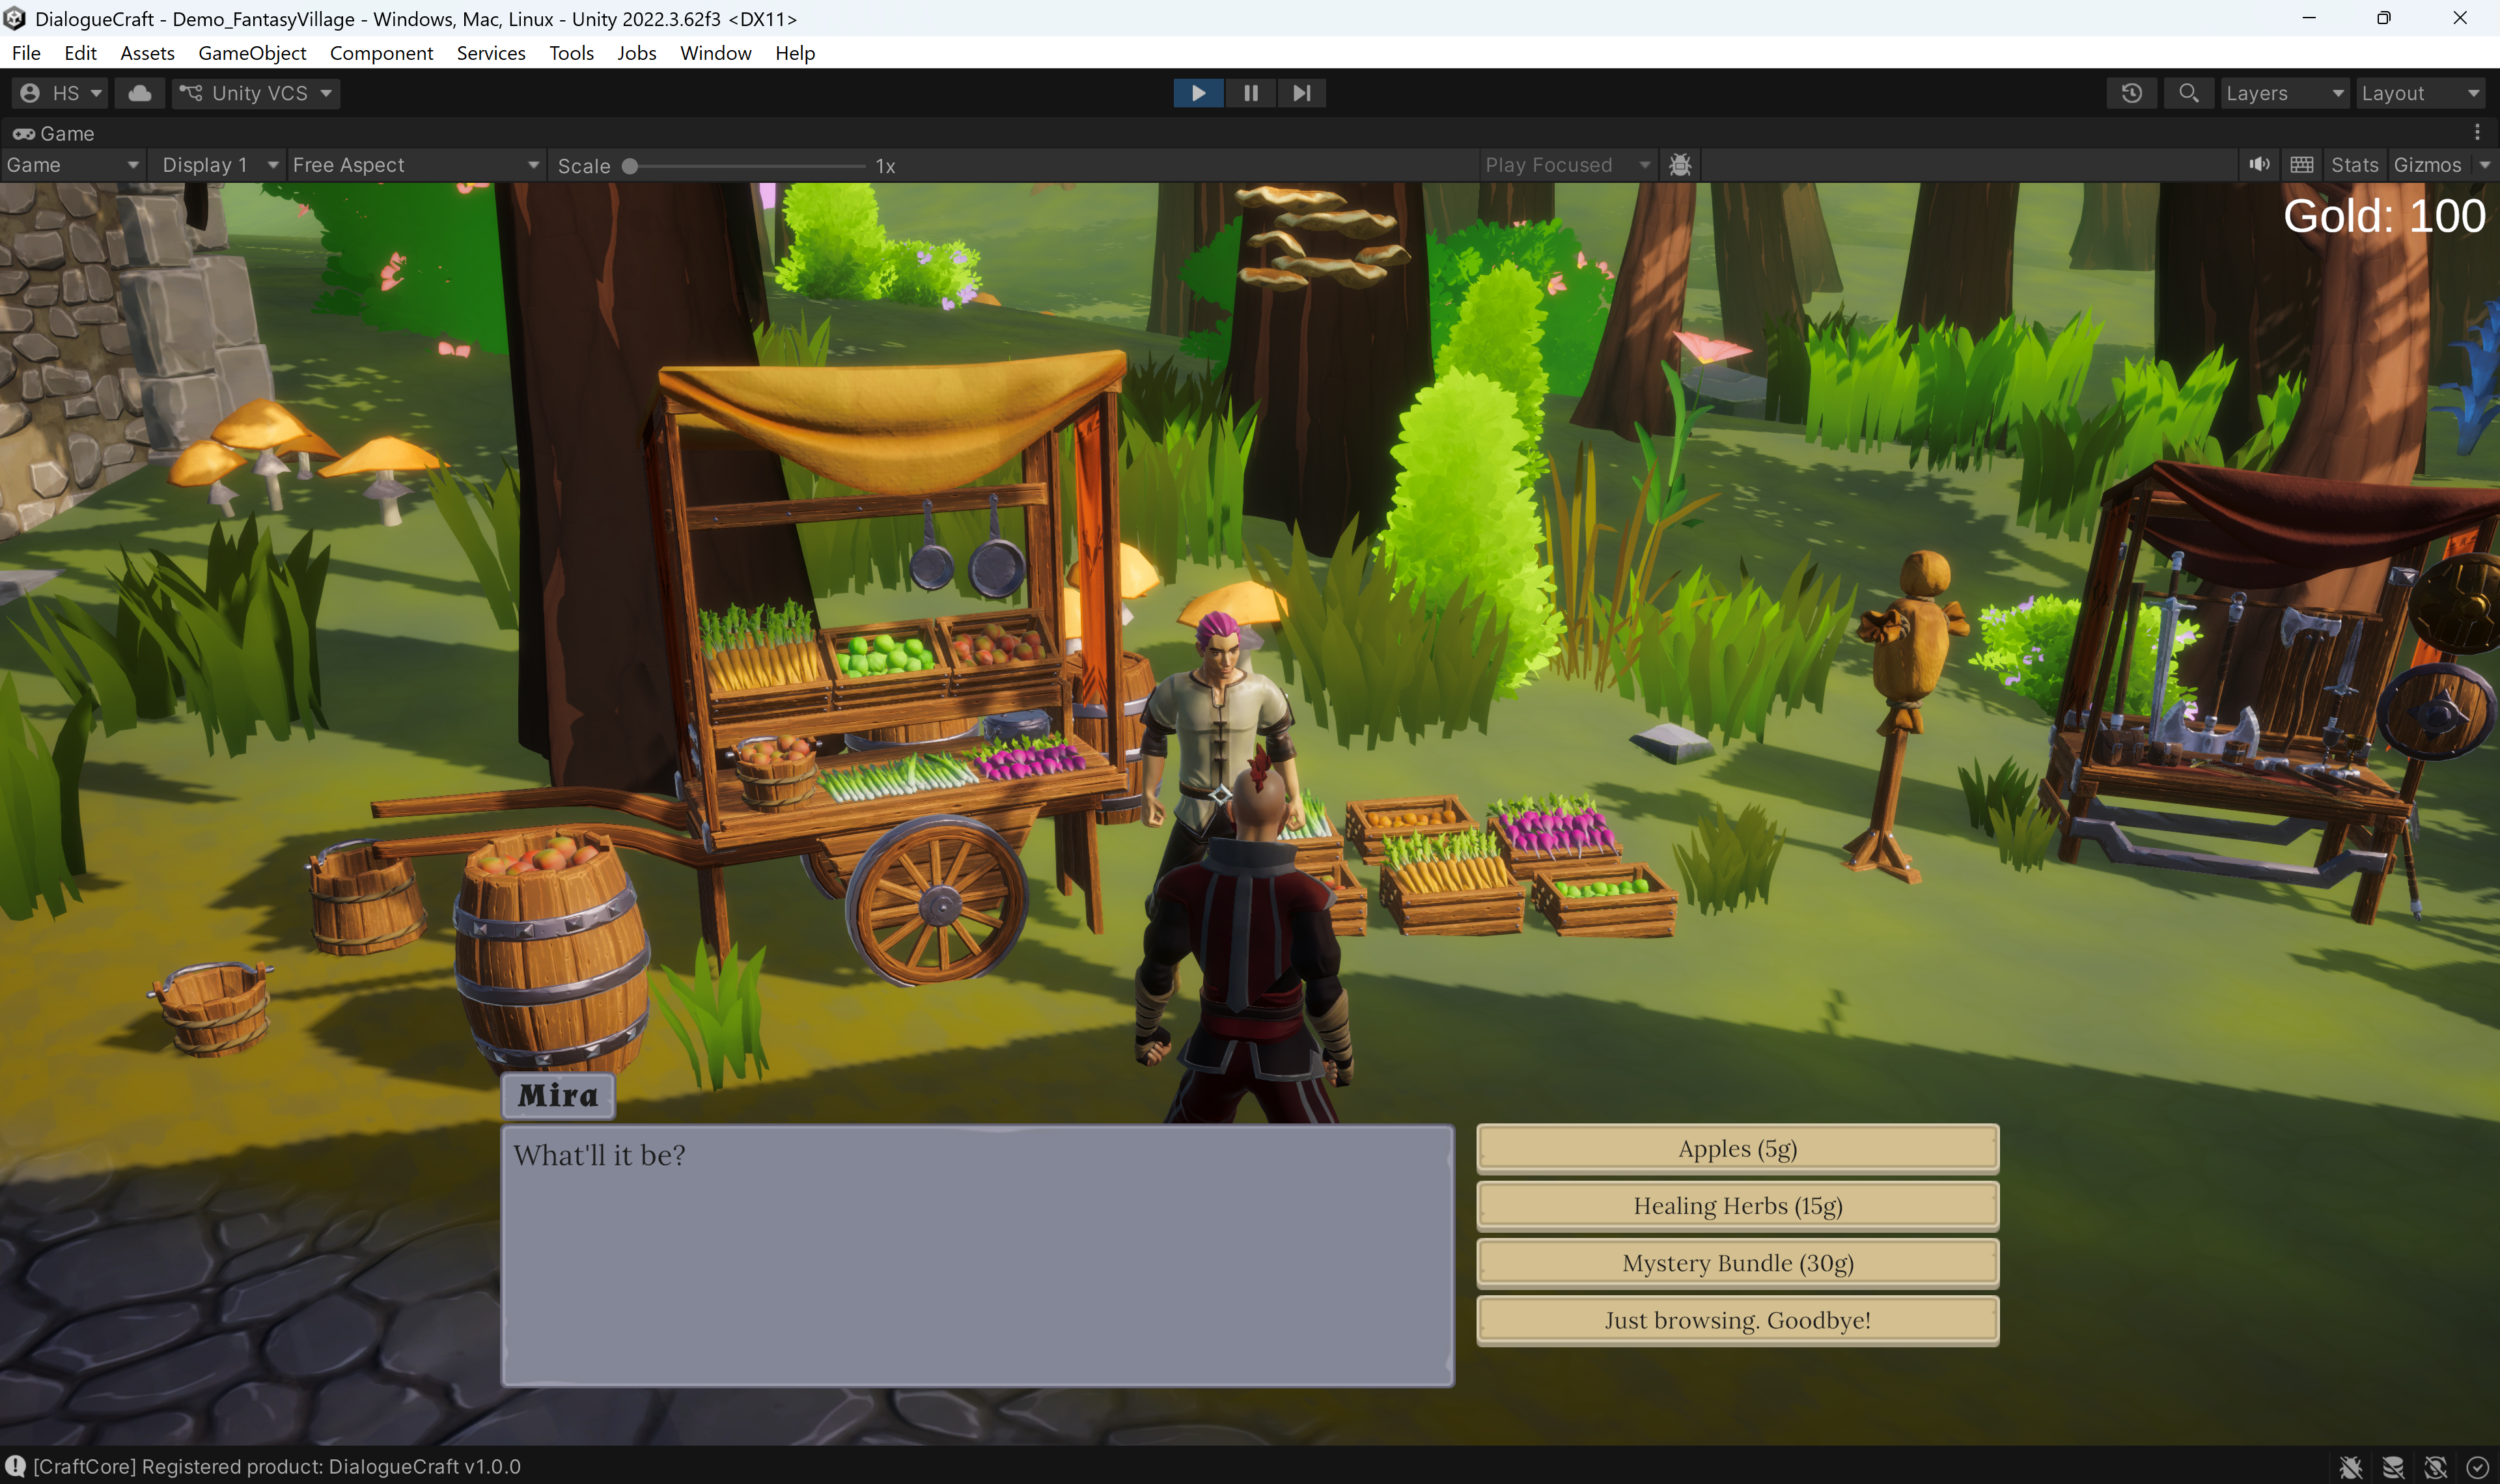
Drag Assets/CraftWorks/DialogueCraft/Demo/RPG/Prefabs/UI/RPGDialogueUI.prefab into your scene Hierarchy. This adds a complete Canvas with:
- A dialogue panel with a dark background
- A portrait image
- A character name label (
TextMeshProUGUI) - A dialogue text area (
TextMeshProUGUI) - A continue indicator
- A choices container with a button prefab (
B_Choice.prefab)
All references on the RPGDialogueUI component are pre-wired.
Select the created DialoguePanel object and assign your DialogueRunner to the dialogueRunner field on the RPGDialogueUI component. If you skip this step, RPGDialogueUI will attempt to find a DialogueRunner in the scene at runtime via FindObjectOfType.
Key RPGDialogueUI settings:
| Field | Description |
|---|---|
clickToContinue | Advance dialogue on mouse click, Space, or Return. Enabled by default. |
hidePortraitWhenEmpty | Hide the portrait image when the speaker has no portrait. |
useCharacterNameColor | Tint the name label with the character's nameColor. |
There is also a Minimal Dialogue UI option (CraftWorks > DialogueCraft > Minimal Dialogue UI) that creates a simpler text-only UI without portraits.
For fully custom UIs, extend DialogueUIBase or implement IDialogueUI directly. See the UI Customization guide.
Add a Trigger
There are two trigger approaches. Pick whichever fits your game.
Option A: DialogueTrigger (self-contained)
Add a DialogueTrigger component to the NPC's GameObject. It handles collision detection, input, and prompt display internally.
- Select the NPC GameObject.
- Add Component: CraftWorks > DialogueCraft > Dialogue Trigger.
- Assign the dialogue asset and the
DialogueRunner. - Set Trigger Type to
OnInteract(player presses a key while in range). - Set Interact Key to
E(or anyKeyCode). - Add a
Collider(orCollider2D) with Is Trigger checked so theOnTriggerEntercallback fires. - Make sure the player GameObject has the tag
Player(matching the trigger'srequiredTag).
Available trigger types:
| TriggerType | Behavior |
|---|---|
OnInteract | Player enters collider range, then presses interactKey |
OnTriggerEnter | Dialogue starts automatically when the player enters the collider |
OnClick | Dialogue starts when the player clicks the object |
OnStart | Dialogue starts when the scene loads |
Option B: DialogueInteractable + InteractionDetector
This approach separates detection (on the player) from the interactable (on the NPC), which scales better when you have many NPCs.
On the NPC:
- Add Component: CraftWorks > DialogueCraft > Dialogue Interactable.
- Assign the dialogue asset and optionally a
DialogueRunner. - Set
displayName(e.g.,"Guard"). - Add a
Collider(does not need to be a trigger for this approach).
On the Player:
- Add Component: CraftWorks > DialogueCraft > Interaction > Interaction Detector.
- Set
detectionRadius(default: 3 meters). - Set
interactKey(default:E). - Optionally assign an
InteractionPromptUIfor on-screen prompts.
The InteractionDetector uses Physics.OverlapSphere (and Physics2D.OverlapCircleAll for 2D) to find nearby DialogueInteractable components. It picks the highest-priority, closest interactable and calls Interact() when the player presses the interact key.
5. Play It
- Enter Play mode.
- Move the player into range of the NPC.
- Press E (or your configured interact key).
- The dialogue UI appears with the guard's line.
- Click or press Space to continue.
- Two choice buttons appear. Click one.
- The dialogue ends.
If the dialogue does not start, check:
- The player GameObject is tagged
Player. - The NPC has a collider with Is Trigger enabled (for
DialogueTrigger). - A
DialogueRunnerexists in the scene with the dialogue asset assigned. - The
RPGDialogueUIcomponent has itsdialogueRunnerfield set.
6. Starting Dialogues from Code
You can also start dialogues from your own scripts without triggers:
using UnityEngine;
using DialogueCraft;

public class MyNPC : MonoBehaviour
{
    public DialogueAsset greeting;
    private DialogueRunner runner;

    void Start()
    {
        runner = FindObjectOfType<DialogueRunner>();
    }

    public void Talk()
    {
        if (!runner.IsRunning)
        {
            runner.StartDialogue(greeting);
        }
    }
}
DialogueRunner provides several useful properties during playback:
| Property | Type | Description |
|---|---|---|
IsRunning | bool | Whether a dialogue is currently active |
IsWaitingForInput | bool | Whether waiting for the player to continue or choose |
IsPaused | bool | Whether the dialogue is paused |
State | DialogueState | Current state: Idle, Running, Typing, Waiting, WaitingForContinue, WaitingForChoice, WaitingForVoice |
CurrentSpeakerId | string | Character ID of the current speaker |
You can subscribe to events on the DialogueRunner for custom behavior:
runner.OnDialogueStart.AddListener(() => DisablePlayerMovement());
runner.OnDialogueEnd.AddListener(() => EnablePlayerMovement());
runner.OnDialogueEvent.AddListener((name, param) => HandleEvent(name, param));
Next Steps
- Dialogue Editor -- node types, connections, keyboard shortcuts, and the inspector panel.
- Characters -- create characters with portraits, name colors, and custom fields.
- Variables and Conditions -- add branches that react to game state.
- Triggers -- advanced trigger configuration and conditions.
- Save and Load -- persist dialogue progress across sessions.
- UI Customization -- build a custom dialogue UI from scratch.
- Audio -- voice lines, typewriter sounds, and FMOD integration.